Friday, August 31, 2012

A Really Long Post about Recovering a Glider!

Before we get started with this post, let me make a few things very clear:
  • This post is going to be very long and have way too many pictures.
  • While this is supposed to be a tutorial, it probably won't make very much sense at all.
  • Really, I have no sewing skills. If I can do it, you can do it.
So lets get started.  Seth and I knew we wanted a glider for the nursery, but didn't want to spend a whole lotta dough.  After minimal searching, we found a solid glider at a great price at Once Upon a Child (I love consignment stores!).  The only issue was that the fabric, while in good condition, wasn't really vibing with what we had going on in the nursery.  See?
You can't really tell in the photo, but the fabric is a nice light blue and white stripe.  Want a close up?
Not bad, just not what we are going for...

So to get started, first I panicked and then I pinned (as in, consulted Pinterest).  I found two great tutorials (this one and this one) and decided to mix those methods for my plan of attack.

Step 1:  Rip some seams
I used my seam ripper to pull apart the top backy piece and the bottom piece.  This left me with the inserts for the back and bottom and pieces that I could use as a pattern.
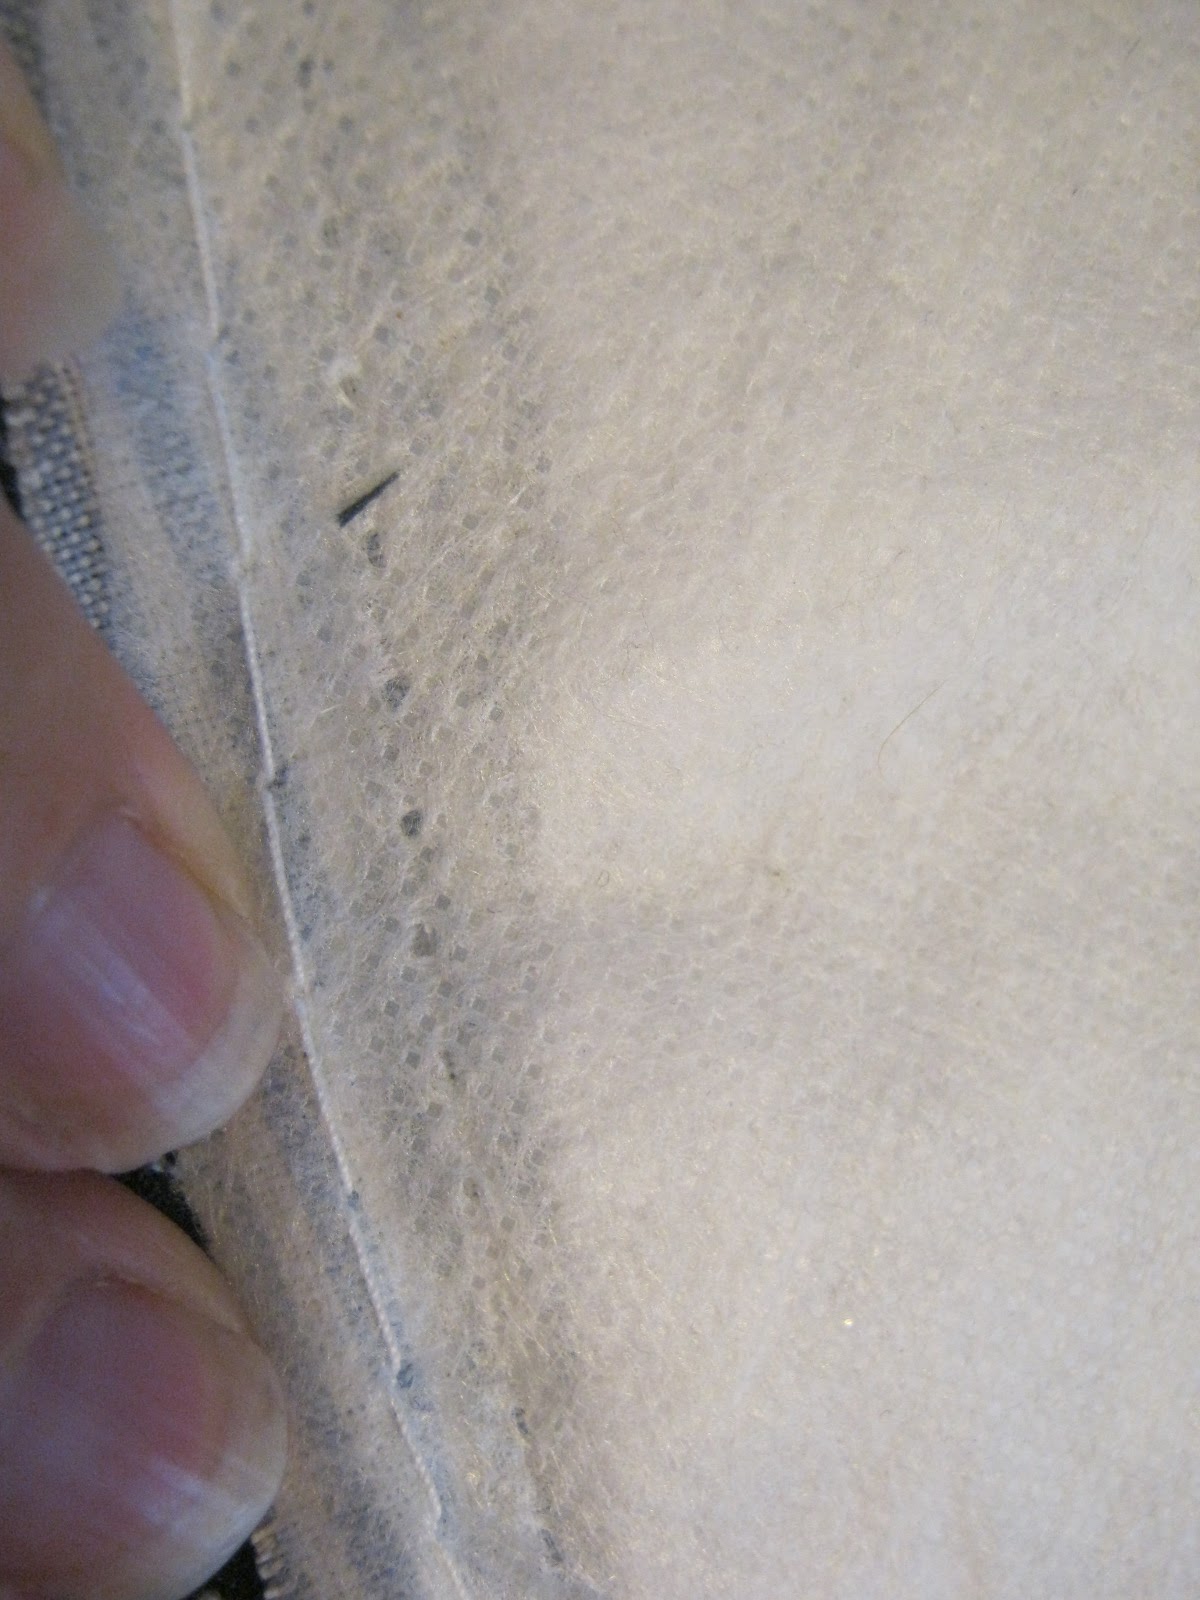
BEFORE

After
For the back piece, you'll notice that part of it has some extra cushioning.  I left this part on and planned to use it.

Step 2:  Make a Pattern
For this project, we wanted some nice soft, baby friendly fabric.  Although, it is not upholstery fabric, I picked up some black minky dot fabric from Hobby Lobby (love their sales!).  I got 3 1/4 yards and had a lot left over.  I think 2 1/2 yards would have worked.  So, back to work...  I laid my old pieces out and pinned them to my new fabric and cut (generously) around them.

Step 3:  Keeping the seams
This step can also we called: here's where it starts to get complicated...  but not really.  So, if you look at the original glider, you'll see all these nice seams on the back piece.  Since I planned to use the fluffy back piece (like in this tutorial), I figured I should add the seams.  I found out the hard way (I snapped a needle) that the best way to do this is to use a heavy duty needle and just gently follow the seam lines that are already laid out.

So (sew?), this is the fluffy back piece pinned to my fabric.  I essentially just sewed into these lines to secure the fluffy piece to my new fabric.
I know its hard to see, but the lines are there!  Success!
Step 4: Putting it all together
So now I have one backy piece attached to a fluffy piece and I need to attach the other backy piece, essentially making a giant, oddly shaped pillow case.  I pinned my pieces wrong side in and realized something amazing- since my fluffy piece was part of the original piece, I could see exactly where the original was sewn.  This allowed me to use this old seam as a guide and meant that I was exactly reproducing the original.
See- all I had to was follow the seam...


And once those were put together, I just had to flip the whole thing right side out...
Not bad for someone who can't sew!


Step 5:  The bottom
The bottom piece was very much like the top, except there was no fluffy piece.  Since following the existing seam worked so well, I decided to try that again.  Basically, I flopped my fabric together wrong side in and pinned my patterny piece on top.

All I had to do from there was follow the seam again and flip it right side out.  OH and an important note that I may not have made clear yet- on both the backy piece and the bottom piece, I only sewed 3 sides (making an oddly shaped pillow case essentially).  One of the things that I didn't like about the original chair was that the covers couldn't be removed for washing.  I wanted to make sure that my covers could come off because 1) I'm a spaz and I spill things 2) there is a solid chance that a cat (or maybe even dog) will try and sleep on this thing and 3) babies are messy.  So at this point, both my backy piece and bottom piece have an open, unfinished edge.

Step 6: The Side Pieces
These were possibly the hardest thing to figure out about this whole project.  This is where I started following this tutorial.  I didn't want to take these pieces apart because I wanted to be able to use the snaps that were already in place.  I started by roughly tracing these guys on the wrong side of my fabric.

Then I cut my pieces out, pinned them together, and sewed the following my chalk line.  The result was very little oddly shaped pillow cases (closed on three sides and open on one).

Step 7:  Finishing the Edges and Closing her Up
Since all of my pieces has an unfinished edge, I clearly needed to do something about that.  I carefully folded the edge under and zipped in a quick hem.


Pretty easy and fancy looking!  To close my pieces, I figured I would just use velcro...
Of course, I bought black velco so you can't really see it, but I promise, its there.  But really, it didn't need to be.  The velcro didn't stick very well and when I put everything together I realized that you couldn't even see the bottom of the pieces.  So I ripped the velcro off and my bottoms are hanging open (don't tell).

Step 8:  Those stupid little side pieces...
Okay, so my side pieces are tricky- they are attached to the chair by snaps at the top and the bottom.  Since the bottom was open, it was easy to snap those babies in.  Following my tutorial, I cut slits in the already sewn top part to expose the snaps.
If you look closely, you can see the snap 

Now, friends, here is where I went wrong.  I cut my holes and then tried to install the damn thing, only to find that my holes were way off.  Here is what I recommend...  cut a hole for your middle snap, snap it to the top part of the chair.  From there, figure out where you need to cut for your left snap and then cut that hole.  Repeat for the right snap.  I ended up having to cut some HUGE holes in order to get everything snapped in.  You can't see them, but I know they are there and they bother me.

Step 9:  Secure the back...
Since the back is so tall, it has to be secured or it will flop over.  To do this, I put the back in the chair and marked where I wanted to secure it.
Then all I did was stitch on some long, skinny pieces that could tie around the bars of the chair...
Step 10:  DONE!
I am insanely proud of this project.  It looks surprisingly good, especially when you consider that I can't really sew.  Just for fun, lets look at the start and the end together...
Before
After
YAY!

But seriously, kudos to anyone who can follow this convoluted tutorial.  More than anything, I hope this inspires y'all to tackle projects that are way out of your league (because sometimes they turn out okay).  Anyone else insanely proud of a project?


Thursday, August 30, 2012

34 Weeks


Sorry for the absence last week- things are certainly getting busier the closer we get to go time.

Size: Girlfriend is packing on the pounds and should be weighing in around 5 lbs. at this point.  The good news about her size is that at this point an earlier arrival (please no) would likely mean only a very short stay in the NICU and limited developmental delays.

YAYS: I think my nesting instinct has started to kick in.  I woke up the other night with the incredible urge to repaint every room in the house.  Luckily the logical side of my brain told the pregnant side to go back to bed and so far no painting has occurred.

NAYS:  Pretty much the same- heartburn and occasional backaches.  Plus I had the mother of all pregnancy melt downs last week (we're talking 2 hours of ugly cry- my husband is a saint).  But the biggest nay of all is that little bit does not have her head down.  She prefers an oblique presentation (horizontal, rather than vertical), so the pressure is on to get that straightened out by my 36 week appointment.

Happenings for the last 2 weeks: Two big things happened in the last 2 weeks.  First, my boss and his wife very generously threw a shower for Seth and me.  The shower was wonderful and my coworkers were so generous.  I swear, we have a solid supply of diapers, wipes, and baby soap.  Thank goodness for all the veteran moms in my office.  Funny note- I asked some of those mamas for some advice and one coworkers said to me "there will come a time when you want to, but really, don't shake the baby.  Just put her down, let her cry, and pull yourself together.  But don't shake the baby."  That's some pretty solid advice.

And on Tuesday, we started our birth and baby class.  Truthfully, Seth and I can't stand the instructor and the chairs in the education center are terribly uncomfortable.  I mean really, these things are held at the labor and delivery hospital in Greensboro- clearly very pregnant ladies will be using these chairs, is a little comfort too much to ask for?  We have 4 more classes, so here's hoping that they get better...

Saturday, August 18, 2012

32 weeks


Size:  Little one is roughly 4 lbs., which is about the same weight as a large jicama (seriously?  Where do they come up with these comparisons?).  From here til delivery, she should gain roughly 1/2 lb. a week, making my own weight gain not so bad (just blame it on the baby).

YAY:  So after weeks (months) of playing the cranky pregnant lady, I read this great post on Offbeat Mama.  The whole post was about how isolating pregnancy can be, expect that really, as a mama to be, you're not alone.  This time is all about Ella and me, just the two of us.  I know things about her that no one else knows (like when she moves), and that is special.  That is something that will always be between us.  While there is no danger of me becoming a happy, glowy pregnant lady, I am at least trying to remember that this time is special and should be enjoyed as much as possible.  Plus the heartburn has gotten a bit better and that'll put anybody in a good mood.

NAY:  After packing on 4 lbs. in just two weeks, I finally got the talking to.  My overall weight gain is still okay (not great), but I do need to slow it down just a little bit.

Happenings for the week:  We had a meeting with our fabulous doula.  She came over and we talked a lot above positioning, mainly ways to get your pelvis to open up more.  While I am less than thrilled to be doing lots and lots of squats, I know that it will be beneficial once we hit go time.

Thursday, August 16, 2012

Quick Gallery Ledges

How bout a quick project post?  And one that is super easy and really cheap! 

When I lasted updated y'all on nursery progress, we finally had most of the furniture in place.  I figured we needed something on that huge expanse of wall above the crib.  I knew I wanted to display family pictures and other fun stuff, but wasn't sure of exactly how I wanted to proceed.  A quick search over at Ana White and  I knew I had my solution- $10 ledges.


I won't bore you with details on how to pull off the these bad boys because Ana's directions are easy to follow.  Plus, we forgot to take pictures as we went.  I think they took us all of 10 minutes to put together.  Seriously, these are really freaking easy.  Plus I like that ledge has a lip on it, so no major worries about things falling into E's crib.
Once we had the ledges up and secure (we actually did this the proper way and found studs to attach them too.  We are serious when it comes to Ella's safety), it was time to think about decorating.  I didn't want to spend a ton on new frames, so I took a quick trip to Goodwill.  I was able to snag 7 frames in several sizes for less than $20.  The frames were scary to start with, but a quick spray with white spray paint quickly fixed that (sorry- no pictures again.  My brain doesn't work right). 

I then tasked Seth with picking out some family photos and I did the same.  After some quick editing and resizing, they were ready to go.
And up on the ledge they went, along with some other items we collected...
On the top shelf: A Babar Book, a sign that says "though she be but small, she is fierce," a picture from our wedding of my mom, sisters and me, a picture of Seth's parents, a picture from our engagement session, and a book called the Littlest Elephant.

On the bottom shelf:  An E sign that I found at Michaels, a picture from when Seth and I first started dating, a picture of Seth and his brother, a picture of my dad and me, another book, a picture of Seth and his mom, a sign that says "let her sleep for when she wakes she will move mountains," and a stuffed zebra that Seth couldn't resist (my husband is such a softie- this little girl has him wrapped around her finger already).

In all, I love how the shelves turned out.  They are sweet and sentimental without being too in your face.  AND for all of y'all that are wondering about her pulling shit down, we are pretty sure that we put them high enough that she won't be able to reach them.  If we didn't, we will certainly make changes when that time comes.


Friday, August 10, 2012

31 weeks


Please excuse the crazy hair and smile- Seth didn't tell me I looked like a crazy woman.  

SIZE:  She is weighing in between 3.5lbs and 4lbs (and lets face it, shes been big so far, so she is probably closer to the 4lb mark).  As for me- well today I was asked if I really only have one baby in there.   Truth be told, my belly is big, but I am measuring right on track.  I have a really short waist (my hips and rib cage almost touch), so the only way for 31 cm to fit is for it to go out.

YAYS: I've been asked a lot about weird cravings and, honestly, I haven't had a single one.  Sure some things taste great (really cold smoothies), but I was really looking forward to sending Seth out to get me something weird.  AND last night it finally happened.  It wasn't a craving so much, but more a "mashed potatoes would taste real good with the london broil and broccoli I am making for dinner."  Seth happily obliged and returned with mashed taters AND pie.  I sure do love that husband of mine.

Also (I know, 2 yays thats a record for me), my belly is finally big enough that I can balance a cup on it. 

NAYS:  I didn't think it was possible, but the heartburn has gotten even worse.  If the old wives' tail holds true (heartburn equals hair), I am pretty sure I will be giving birth to the wolf man.  Maybe we should invest in waxing supplies now...

Happenings for the week: While not an official baby-moon, Seth and I spent last weekend at the beach.  The trip was a combo celebration for Seth's birthday, chance to spend time as a couple, and a much needed trip away from work and daily life.  We stayed at a great inn, had wonderful weather, and ate plenty of seafood.  I always enjoy my time with Seth, but it was extra special knowing that it will be a while before it will just be the two of us again.  But, at the same time, watching all the families play together on the beach made me super excited for our future.

Thursday, August 2, 2012

30 weeks!


Sorry for the lack of post last week.  Seth and I were with our youth group in the mountains (Glory Ridge, for those of you who have heard me talk about it).  It was a great week, but I was one tired mama once we got back.  But here we are, another week down with only 10ish more to go!

Size:  Chickadee is roughly the size of a head of cabbage.  Personally, I think it looks a little more like I have a basketball shoved under my dress.

YAYS: When you look at my belly, its pretty easy to figure out where she is hanging out.  There is usually a huge bump or bulge.  Its also pretty funny to see my belly rippled as she flips over.  And while this was technically last week, baby girl got real excited every time we went to the dump (excuse me, sanitary landfill). 

NAYS:  Holy heartburn, batman.  The heartburn is really and truly out of control and very uncomfortable. 

Happenings for the week:  Other than surviving a week at the Ridge, I don't have much to report.  I had my 30 week appointment on Monday and am measuring right on schedule.  Really, as much as I complain (and I shouldn't), this pregnancy has been totally by the book (and for that, I am grateful).